A home feels easier to maintain when each space has a simple “reset” routine, the right supplies nearby, and clear boundaries for what belongs where. Instead of treating cleaning like a big weekend project, set up small zones that stay tidy through light daily habits, quick weekly touchpoints, and one reusable checklist you can repeat without thinking.
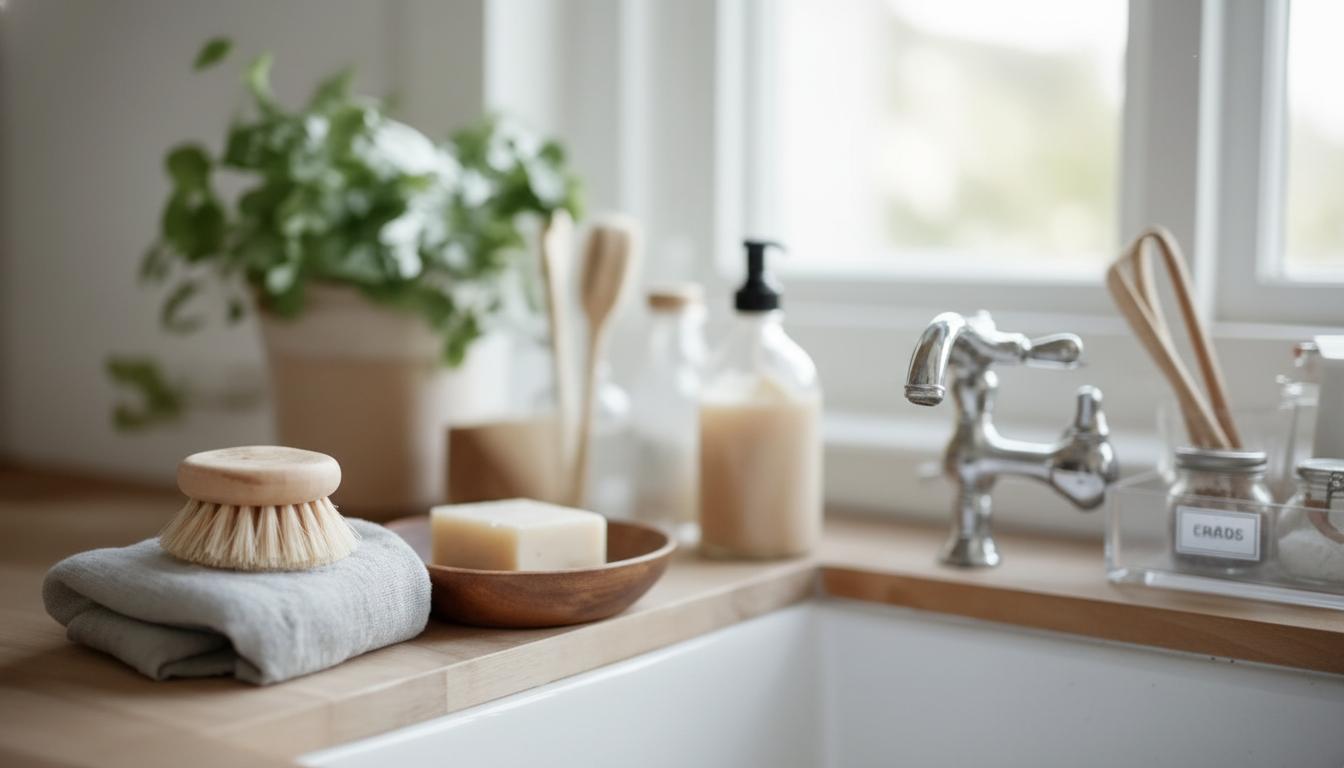
A self-cleaning zone isn’t a magical surface that never gets dirty—it’s a clearly defined area with a purpose (like an entry drop zone, sink zone, or laundry launch zone) and a fast reset routine that brings it back to “done” in minutes. The payoff is fewer decisions: the zone has dedicated tools, a short checklist, and a default finished state you can recognize at a glance.
Strong zones prevent clutter migration by giving every high-frequency item a single home. Start where mess multiplies fastest: the entryway, kitchen sink/counters, bathroom sink, laundry area, and the main living surface (coffee table or dining table).
Every zone works better when it’s built the same way:
| Zone | Boundary | Trigger | 2–5 Minute Reset | Keep Nearby |
|---|---|---|---|---|
| Entry drop zone | One tray + one shoe mat | Arrive home | Hang keys, sort mail, shoes on mat | Trash bin, hook, small tray |
| Kitchen sink zone | Sink + 12 inches of counter | After meals | Dishes in dishwasher, wipe rim/counter, quick rinse | Sponge holder, dish spray, microfiber |
| Bathroom sink zone | Sink + vanity top | After brushing teeth | Put items back, wipe faucet/top, toss trash | Disinfecting spray, cloth, small bin |
| Laundry launch zone | One hamper + shelf | When changing clothes | Clothes in hamper, start load when full, wipe shelf | Stain stick, lint roller |
| Living room reset zone | Coffee table + floor within 3 feet | Before bed | Put items in baskets, quick vacuum pass if needed | Catch-all basket, hand vac |
Momentum matters. Build zones in a sequence that quickly reduces daily friction:
If you want a ready-made system for boundaries, triggers, and repeatable routines, Zones That Clean Themselves | How to Create Zones for Easier Cleaning | Digital Home Organization Guide, Smart Cleaning System eBook, AI Cleaning Checklist is built to help set up zones quickly and keep them running with a smart checklist approach.
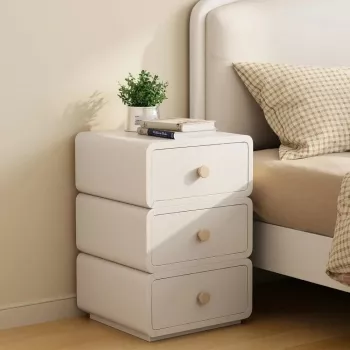
For storage-heavy homes (or if closets are the bottleneck that breaks your laundry and bedroom zones), upgrading capacity can make resets dramatically faster. A larger, structured storage solution like the Modern Minimalist Ash Wood Wardrobe with Artistic Glass Sliding Doors can help enforce clear “homes” for clothing and linens—so clean items don’t linger in piles.
For cleaning and disinfecting guidance—especially in kitchens and bathrooms—stick to credible, safety-forward recommendations from sources like the CDC, product label instructions, and frameworks such as the EPA Safer Choice program for identifying certified products.
Start with 3–5 high-impact zones (entry, kitchen sink, bathroom sink, laundry, and one living surface). Add more only after the resets feel automatic and consistently take just a few minutes.
Make the reset shorter, keep tools where the action happens, and give each person a labeled micro-space (a hook or bin). Keep the rules visible and minimal so compliance takes less effort than ignoring it.
Aim for 2–5 minutes daily. If it takes longer, shrink the boundary, reduce the number of items in the zone, or split it into two smaller zones with separate triggers.


Leave a comment